Want glowing skin and a serene space—but tired of synthetic decor that feels hollow? Most store-bought “natural” crystals are mass-mined, energetically flat, and coated in invisible residues. You’re left craving authenticity without the markup. Here’s the fix: grow your own pure, organic crystals at home. Not just for science class—these living formations can elevate your beauty rituals and interior energy.
Why Most DIY Crystal Kits Fail (And Why Yours Shouldn’t)
Commercial kits promise sparkle but deliver disappointment. They overload solutions with borax or Epsom salt—cheap, fast, and utterly lifeless. The result? Brittle, cloudy clusters that shatter under sunlight and carry zero vibrational charge.
True organic crystals need time, purity, and intention—not shortcuts. And most tutorials skip the one variable nobody talks about: water memory. Tap water’s chlorine and fluoride disrupt lattice formation at a molecular level. That’s why your kitchen-sink attempts end up looking like frost on a freezer wall.
How to Grow Homemade Crystals: A Ritualistic Recipe
This isn’t chemistry—it’s alchemy. We use food-grade alum (potassium aluminum sulfate), distilled water, and patience. Alum is naturally occurring, non-toxic, and forms octahedral crystals that refract light like raw quartz. Bonus: it’s been used in Ayurvedic skincare for centuries as a gentle astringent.
Selecting Your Base Mineral
Alum is ideal for beginners. Skip table salt—it lacks structural integrity. Sugar makes candy, not crystals. Borax? Toxic if mishandled and banned in EU cosmetics. Stick with food-safe alum from your spice aisle or pharmacy.
Purifying the Water
Use distilled water—no exceptions. Boil it once, then let it cool slightly. This resets its energetic baseline. Pour into a clean glass jar (never plastic). Add alum slowly while stirring clockwise—yes, direction matters. Saturation point is reached when undissolved powder settles at the bottom after 5 minutes of stirring.
Seeding & Growth Environment
Tie a small starter crystal (or rough alum granule) to a cotton thread. Suspend it in the solution so it doesn’t touch sides or bottom. Cover jar with breathable cloth—muslin works. Store in a dark, vibration-free spot (a closet shelf beats your noisy kitchen counter). Temperature swings ruin symmetry.
Patience vs. Pace: Timing Realistically
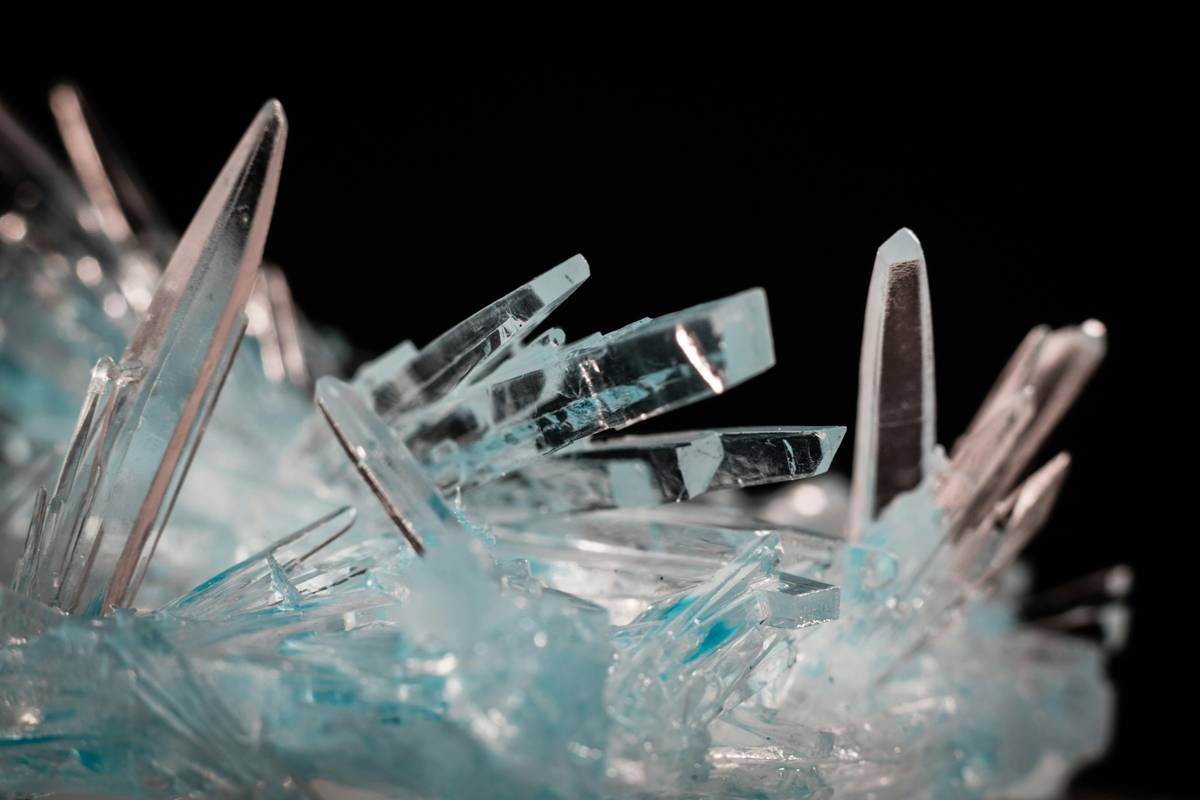
Most guides say “wait 24 hours.” Lies. Real crystalline architecture takes 7–14 days. Check every 48 hours. If crust forms on surface, skim it off gently—it steals growth potential from your main crystal. Larger = slower. A thumbnail-sized gem needs 10 days minimum.
| Method | Material Used | Growth Time | Safety for Skin/Decor | Vibrational Quality |
|---|---|---|---|---|
| Borax Method | Sodium borate | 3–5 days | Low (irritant) | Dull, chaotic |
| Epsom Salt | Magnesium sulfate | 1–2 days | Moderate (skin-safe) | Fleeting, powdery |
| Alum (Recommended) | Potassium aluminum sulfate | 7–14 days | High (food-grade) | Clear, resonant |
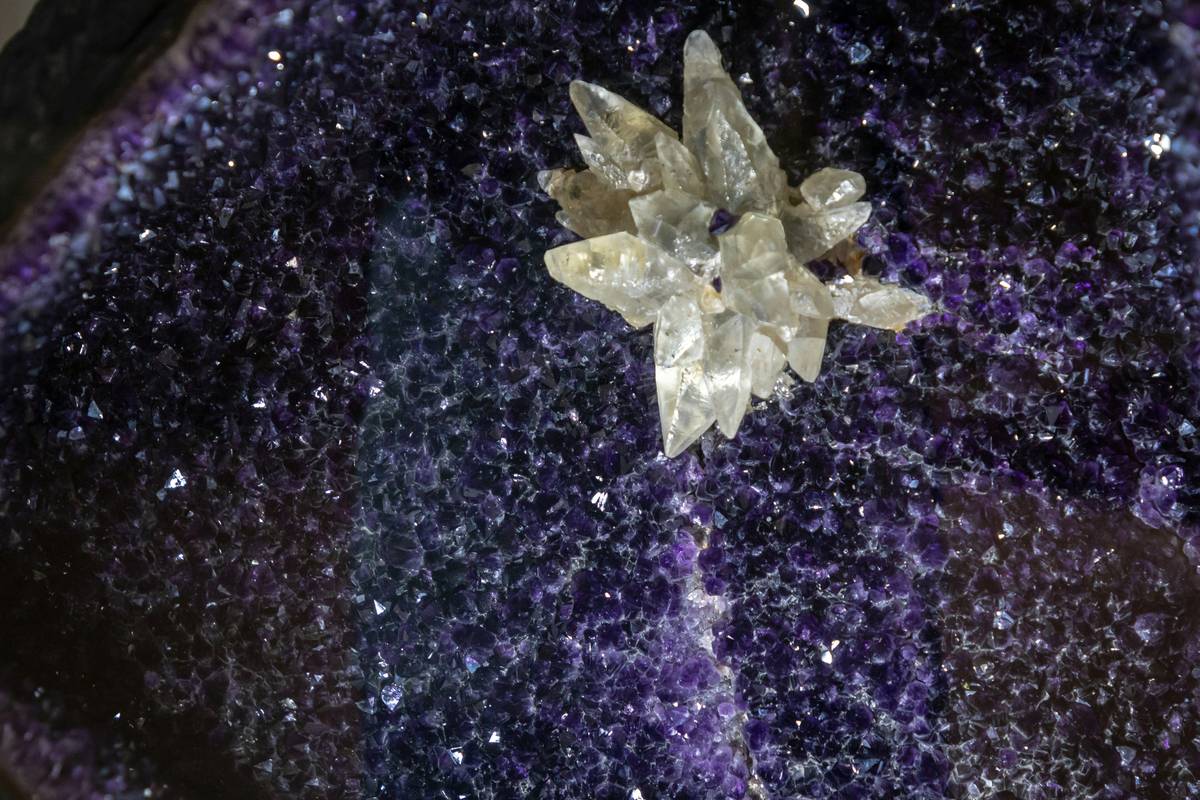
The Industry Secret: Charging Your Crystals Through Skincare Rituals
Here’s what no DIY blog admits: crystals grown in isolation lack soul. The secret? Infuse them during growth with botanical hydrosols. Add two drops of rosewater or lavender hydrosol to your saturated solution before seeding. These carry plant intelligence that imprints onto the crystal lattice.
But the real magic happens post-harvest. Once dry, place your crystal beside your face oil or toner overnight. It absorbs ambient frequencies—and when placed near your vanity, it subtly amplifies the efficacy of your organic skincare. Think of it as passive crystal therapy. Labs can’t replicate this synergy because it’s not measurable—it’s felt.
FAQ
Can I use tap water to grow crystals?
No. Chlorine and minerals disrupt nucleation. Always use distilled or filtered reverse-osmosis water for stable, clear formations.
Are homemade alum crystals safe for skin contact?
Yes—food-grade alum is used in natural deodorants and styptic pencils. Rinse your finished crystal with distilled water before placing near skincare products.
How do I make my crystals larger and clearer?
Slow evaporation = clarity. Keep the jar in a stable 68–72°F environment. Never rush by heating. Patience builds perfection.